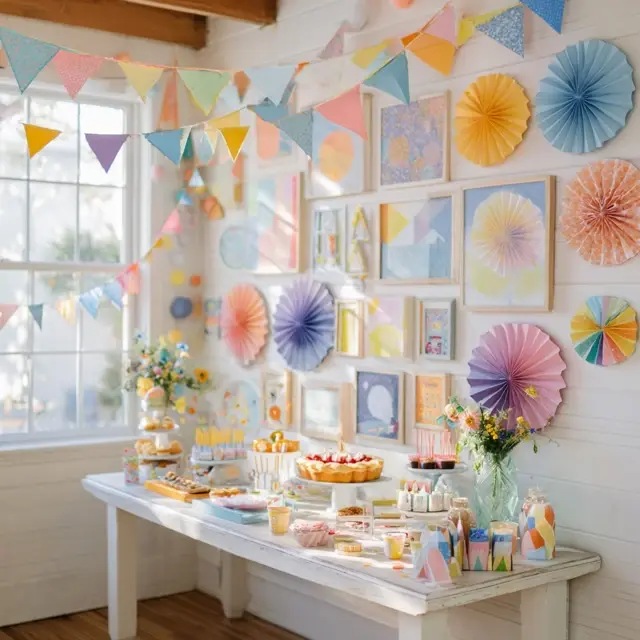
How to Craft Ribbon Walls for Happy Birthday Decorations
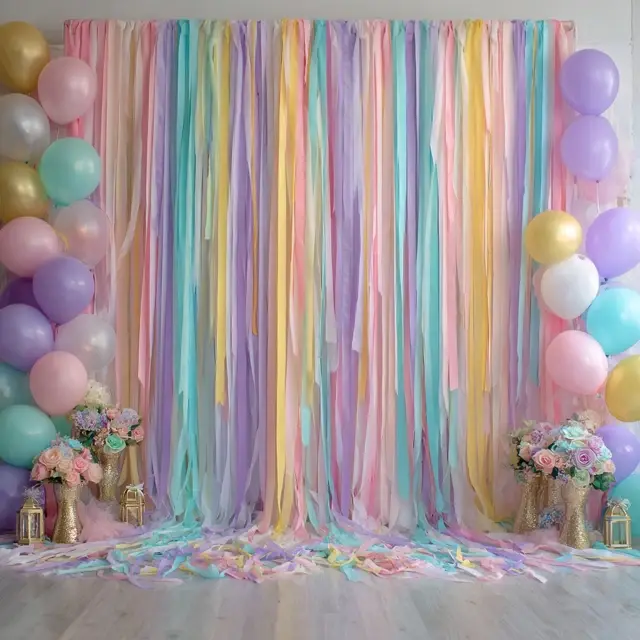
When it comes to creating a striking backdrop for your party, few DIY projects are as impactful as a ribbon wall. Whether hung behind the cake table, at the entrance, or in a photo corner, ribbon walls add color, movement, and elegance to your Happy Birthday Decorations. Best of all, they’re simple to make and easy to customize for any theme or style.
Why Ribbon Walls Make Great Party Decor
A ribbon wall isn’t just decorative—it also helps define spaces and set the mood for your celebration. It’s versatile enough to work in both casual and formal settings.
- Visual Impact: Creates a bold statement piece that draws attention.
- Flexible: Works with rustic, modern, whimsical, or glamorous themes.
- Affordable: Can be crafted using simple supplies like ribbons and rods.
- Reusable: Carefully stored ribbons can be used again for future events.
Materials You’ll Need
Gather these basic supplies before starting your ribbon wall:
- Assorted ribbons in different widths and colors
- A curtain rod, dowel, or sturdy string
- Scissors
- Tape, glue, or staples (for securing ends)
- Optional: fairy lights, artificial flowers, or balloons for accents
Step-by-Step Guide to Crafting a Ribbon Wall
1. Choose a Color Palette
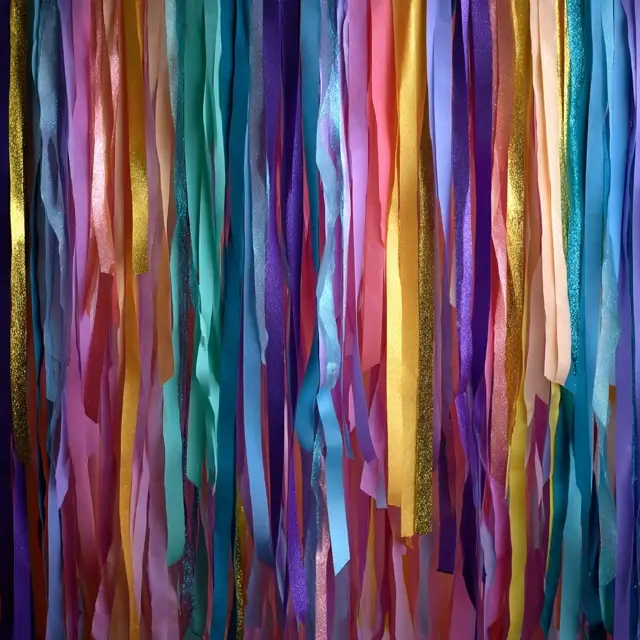
Select 2–4 complementary colors to match your birthday theme. Metallic ribbons can add a touch of glam, while pastels work beautifully for soft, whimsical styles.
2. Cut the Ribbons
Measure and cut ribbons to your desired length, usually long enough to reach from the hanging rod to the floor or table height.
3. Attach the Ribbons
Secure ribbons by tying them to the rod or using tape or staples. For extra volume, overlap ribbons or add varying widths.
4. Style with Accents
Enhance your ribbon wall with fairy lights, faux greenery, or themed cutouts for added dimension and flair.
5. Display the Ribbon Wall
Hang it behind the cake table, at the entrance, or in a dedicated photo booth area to maximize its visual impact.
Creative Variations
- Ombre Ribbon Wall: Arrange ribbons from light to dark shades for a gradient effect.
- Patterned Ribbon Mix: Use polka dots, stripes, or glitter ribbons for playful energy.
- Layered Ribbon Wall: Combine ribbons with DIY paper fans or balloons for texture.
- Seasonal Twist: Add seasonal decor like leaves, snowflakes, or seashells depending on the time of year.
Styling Tips for Maximum Effect
- Keep the ribbons long and flowing for elegance.
- Mix widths for visual interest and depth.
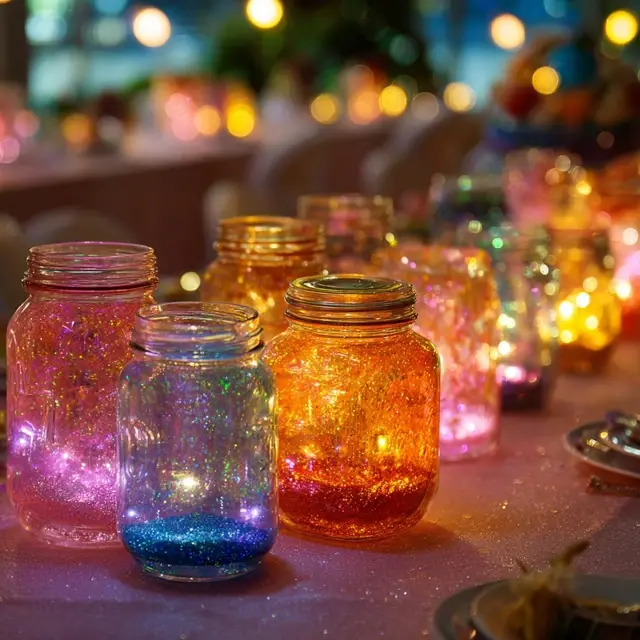
- Add lighting to highlight textures and colors at night.
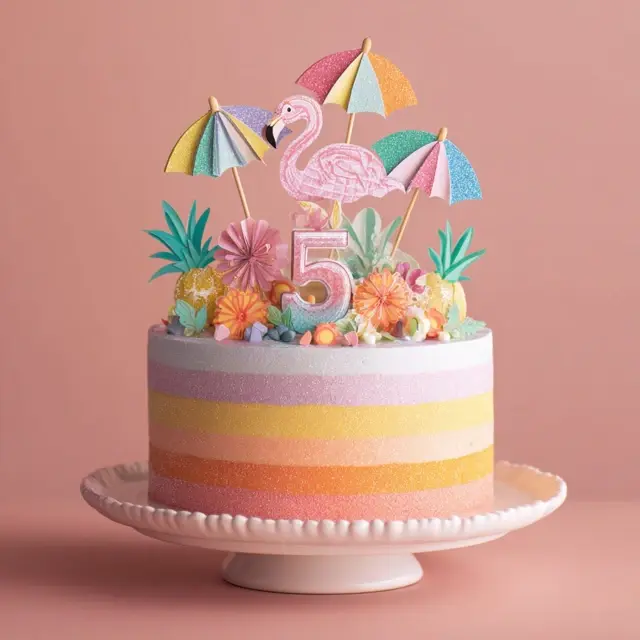
- Coordinate with handmade cake toppers for a unified look.
Final Thoughts
DIY ribbon walls are a beautiful, budget-friendly way to enhance your Happy Birthday Decorations. With their customizable colors, textures, and accents, they make unforgettable backdrops that transform any party into a stylish celebration. Whether you prefer rustic, glamorous, or minimalist, ribbon walls can be tailored to suit your vision perfectly.
