How to Craft Banners for Happy Birthday Decorations
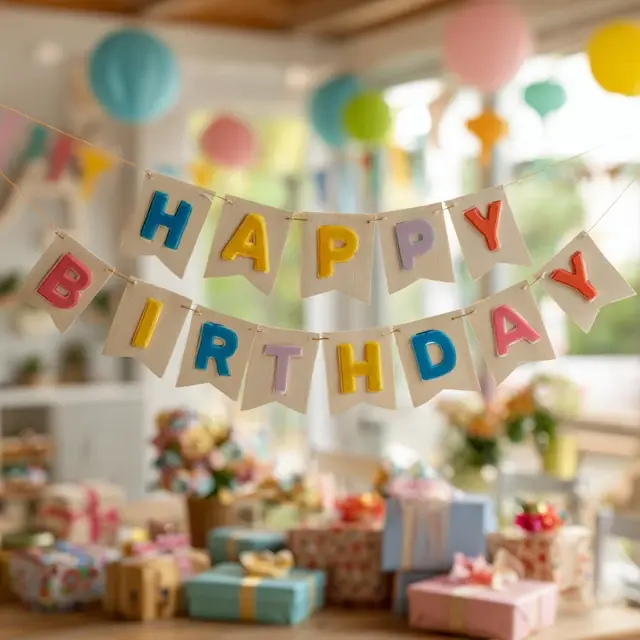
No birthday feels complete without a festive banner hanging proudly across the room. Whether strung above the dessert table or displayed as a backdrop, DIY banners are one of the most customizable and personal touches you can add to your Happy Birthday Decorations. Best of all, crafting them at home is simple, affordable, and allows you to showcase creativity that store-bought designs often lack.
Why DIY Banners Elevate Your Birthday Decor
Banners do more than spell out “Happy Birthday.” They set the theme, create a focal point, and tie your decor together. A handmade banner also makes the celebration feel more heartfelt and memorable for the guest of honor.
- Customizable: Pick colors, fonts, and shapes to match your theme.
- Reusable: Store banners for future parties or celebrations.
- Personal: Add names, ages, or special messages for a unique touch.
Materials You’ll Need
Most banners can be created using basic craft supplies, many of which you may already have at home:
- Cardstock or thick paper
- Scissors or craft knife
- String, twine, or ribbon
- Glue, tape, or hole punch
- Markers, paint, or decorative stickers
Step-by-Step Guide to Crafting a DIY Banner
1. Choose a Shape
Popular options include triangles, rectangles, or pennant-style flags. Cut out your chosen shape in uniform sizes for a polished look.
2. Design the Letters
Cut out letters from colored paper or use stencils to paint them directly onto the flags. Bold, easy-to-read letters work best for visibility.
3. Add Decorations
Enhance your banner with glitter, sequins, or themed stickers. For a rustic vibe, use kraft paper with handwritten calligraphy.
4. Assemble the Banner
Punch holes in the top corners of each flag and thread them onto string or ribbon. Space them evenly and secure the ends for hanging.
Creative Banner Ideas for Happy Birthday Decorations
- Photo Banner: Alternate flags with printed photos of the birthday honoree through the years.
- Chalkboard Banner: Use mini chalkboard flags that can be rewritten and reused.
- Fabric Banner: Swap paper for fabric squares for a long-lasting, reusable option.
- Themed Banner: Match banner designs to themes like superheroes, unicorns, or rustic farmhouse.
- Light-Up Banner: Wrap fairy lights around the string for a glowing effect.
Where to Display Your Banner
Placement matters when it comes to making your banner a focal point. Try these locations:
- Above the cake or dessert table
- Across the entrance to welcome guests
- As a photo booth backdrop
- Behind the gift table
- On the wall of the main party area
Pairing Banners with Other DIY Decor
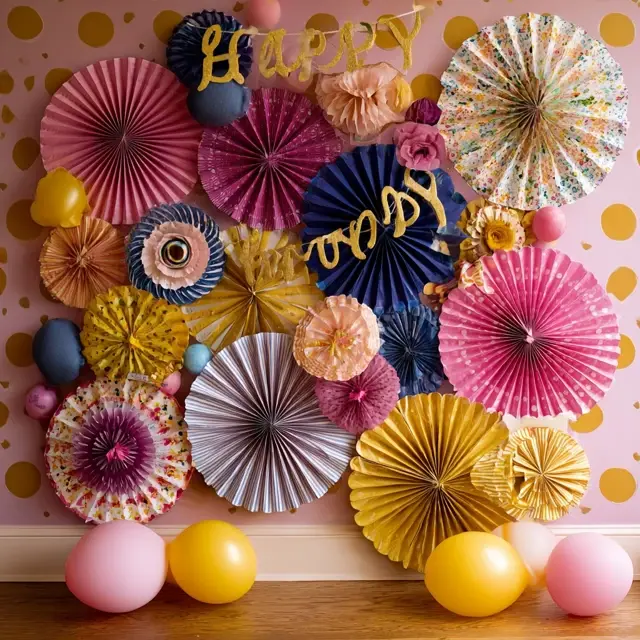
For a cohesive look, pair your banner with other handmade elements. For example, complement it with handmade paper flowers or layer it above DIY centerpieces for added dimension.
Final Thoughts
Crafters of all skill levels can create banners that bring personality and charm to their Happy Birthday Decorations. With just a few supplies and a little creativity, you’ll have a banner that becomes the centerpiece of the celebration.


